Taking incredible photos with your iPhone is easier than ever, but as any photographer knows, snapping the shot is only half the battle. Even the best photos need some retouching to make them share-worthy. Fortunately, there are some stellar photo retouch apps available for iPhone.
The best retouch apps for your iPhone
Looking for some new apps to add to your photo editing arsenal? The following retouch apps are indispensable for touching up your iPhone photos, whether they’re landscape shots, flat lays, or selfies. Many of these apps are free to use. Others can be purchased for a nominal fee. Here are our favorite photo retouch apps for iPhone, as well as instructions for using them to touch up your photos.
1. TouchRetouch: Best app for removing objects from a photo
Got a photo that would be amazing — if not for that background photo bomber, rogue seagull, or unsightly power line? There are numerous photo apps that can remove unwanted objects from an image, but the easiest to use is TouchRetouch. The TouchRetouch app has received more than 18,000 positive reviews on the App Store and is currently available for $1.99.
How to use TouchRetouch to remove objects from a photo
- Download TouchRetouch and open it on your iPhone.
- Tap Albums to access your iPhone photo library and choose the photo you want to retouch.
- Choose Object Removal from the menu at the bottom of the screen.
- Select the Brush or Lasso tool to remove your unwanted object. (The most effective tool will depend on the object you want to remove. Experiment with both.)
- If you are removing something small, use your fingers to pinch outward and zoom in on the object.
- To use the Lasso tool, draw a line around the object you want to remove with your finger. When you remove your finger, the object will be highlighted in green.
- To use the Brush tool, paint over the unwanted object with your finger. This will also be highlighted in green. You can make the brush smaller or larger by tapping Settings.
- Tap Go to watch the object magically disappear. The highlighted area will be filled in with pixels duplicated from the surrounding area.
- To save your photo, tap the share icon at the top of the screen and then choose Gallery.
2. Snapseed: Best app for changing a head pose
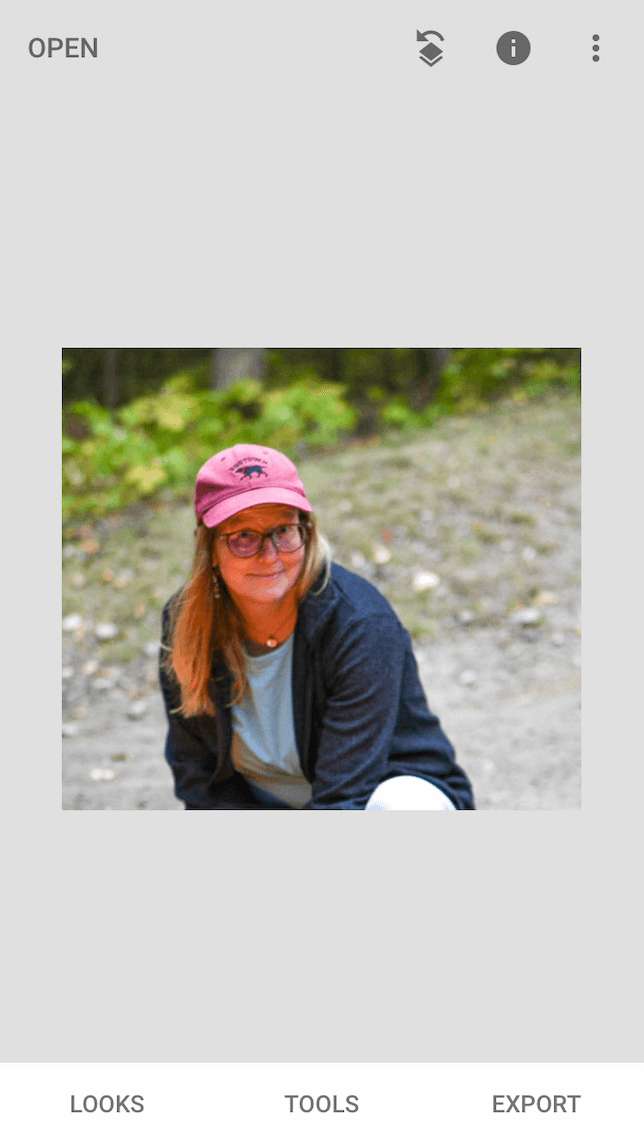
Snapseed is a popular editing app created by Google. It’s easy to use, even for beginners, and one of its coolest features is the ability to change the perspective of faces in portrait shots or selfies. It’s a subtle fix, but one that can really make your portraits stand out. Remember those shots that would be perfect if you were only looking a little to the left? Snapseed can fix them! Snapseed is available for free on the App Store.
Using Snapseed to change the head pose on a selfie or portrait
- Download Snapseed and open it on your iPhone.
- Tap Open and choose a photo to edit.
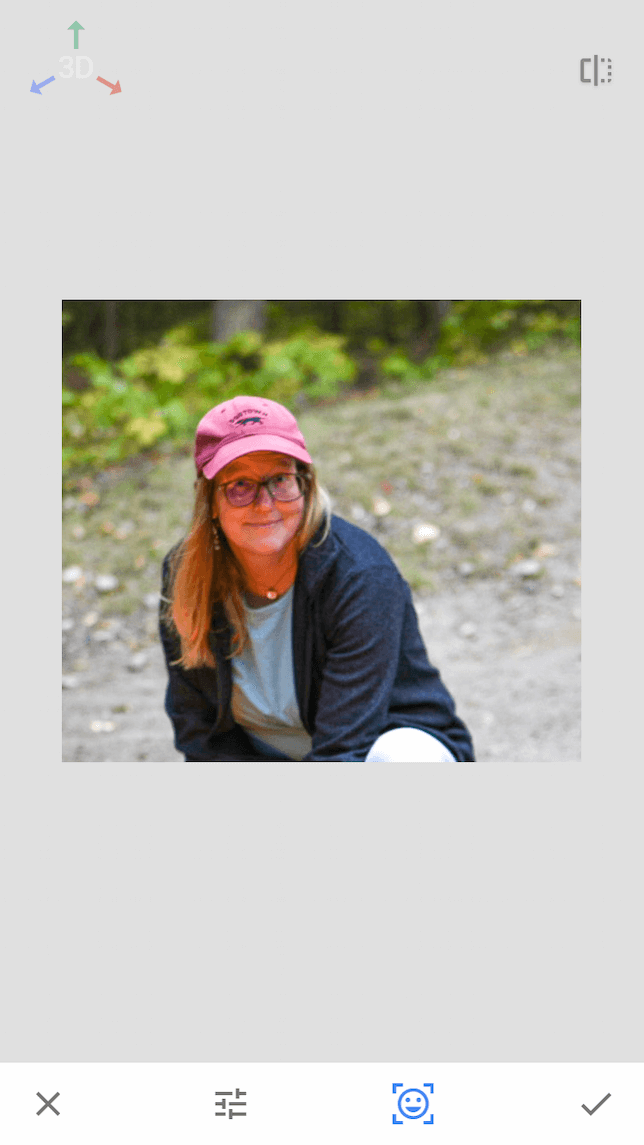
- Tap Tools and then scroll down and tap Head Pose. A smiling emoji surrounded by four arrows will appear on the screen.
- Use your finger to slide the face in whatever direction you want it to point.
- Tap the checkmark when you are done.
- Tap Export to save your photo to your library.
3. AirBrush: Fun app for changing the shape of your body
AirBrush is a full-feature photo retouching app that includes many of the same features found in other apps along with some unique features you won’t find anywhere else. One such unique feature is the ability to use the reshaper to make your body slimmer, taller, and firmer in photos. AirBrush also has various filters, a skin smoother, and even digital makeup filters. The app is free to download, but premium features require in-app purchases.
How to create a slimmer shape using AirBrush
- Download AirBrush and open it on your iPhone.
- Choose a full-body portrait that you’d like to reshape.
- Choose the Reshape tool.
- Tap Light.
- Zoom in on the area you want to reshape.
- Use the circular tool with your finger to make fine adjustments to your shape.
- Zoom out and tap the orange rectangle icon to see the before and after versions.
- Use the back arrow if you need to redo any areas.
- Tap the checkmark, followed by the share icon to save your retouched photo to your library.
4. Facetune2: Best app for smoothing your skin
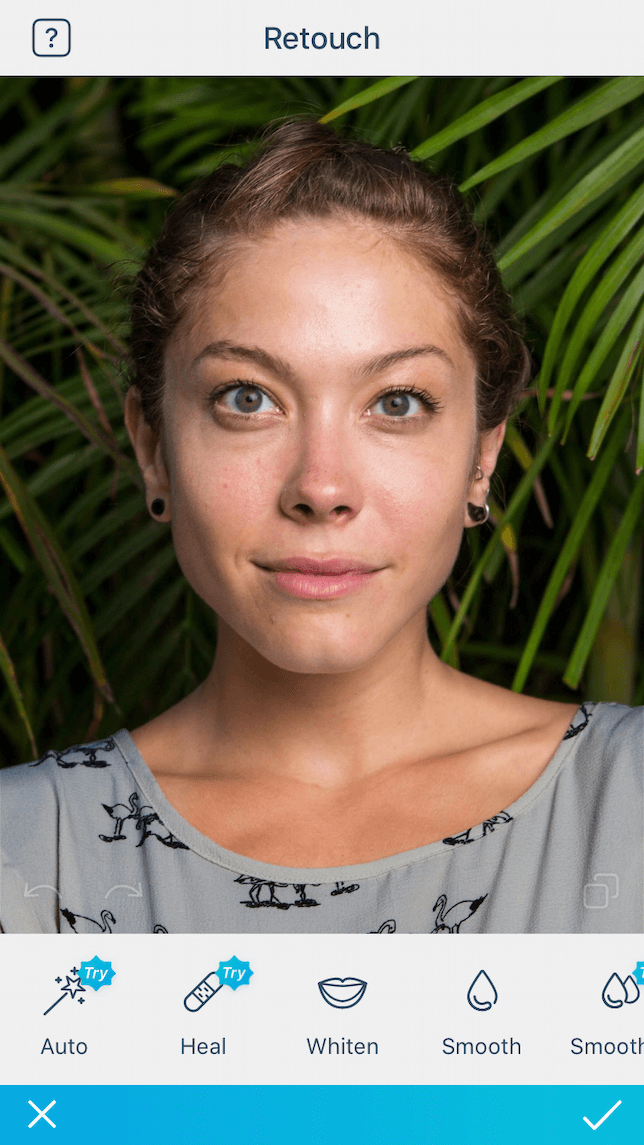
Do you love taking selfies but aren’t always happy with the results? Facetune2 excels at retouching portraits and selfies and includes a skin smoothing tool, a teeth whitening tool, and even a face reshaper. You can up your selfie game with Facetune2 for just $5.99 a month.
How to use Facetune2 to retouch your next selfie
- Download Facetune2 from the App Store and open it on your iPhone.
- Choose a photo to edit from your library.
- Tap Retouch.
- For an overall smoother look, simply tap Auto.
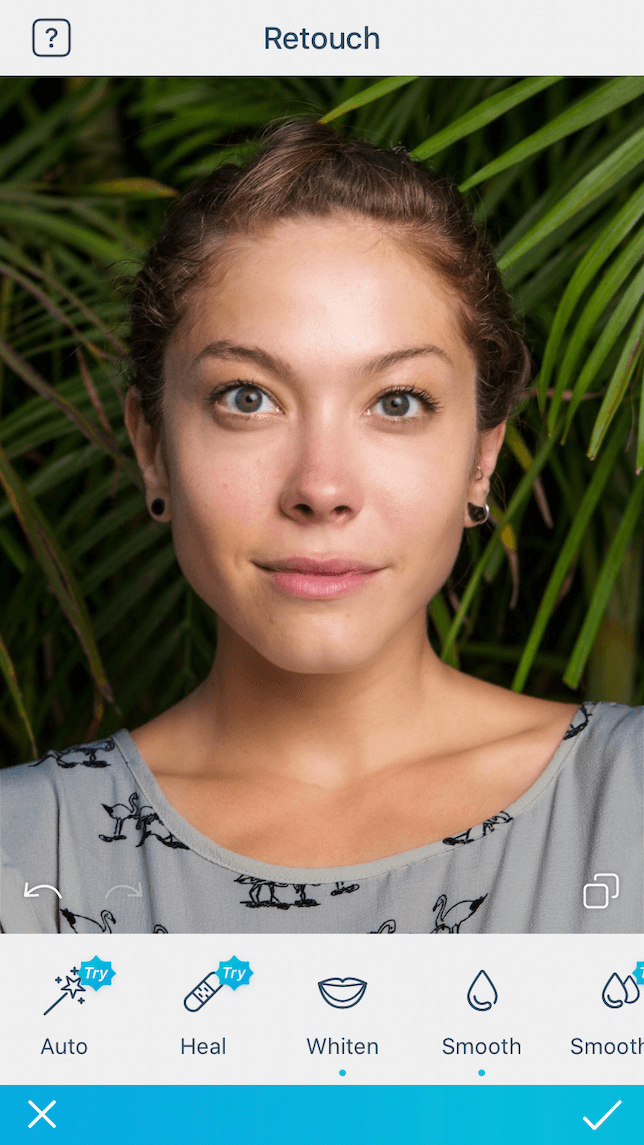
- If you want to do more retouching, choose an item from the bottom menu, then use the slider to adjust the intensity.
- Tap the checkmark when you have finished editing.
- Tap the share icon to save your edited photo to your library.
5. Photoshop Fix: Best app for healing imperfections in your photos
Photoshop Fix allows you to repair and refine imperfections in your image, change the shape of objects, and adjust shadows and highlights to certain parts of your image. Photoshop Fix is free to download and works seamlessly with other Adobe apps like Lightroom and Photoshop Express.
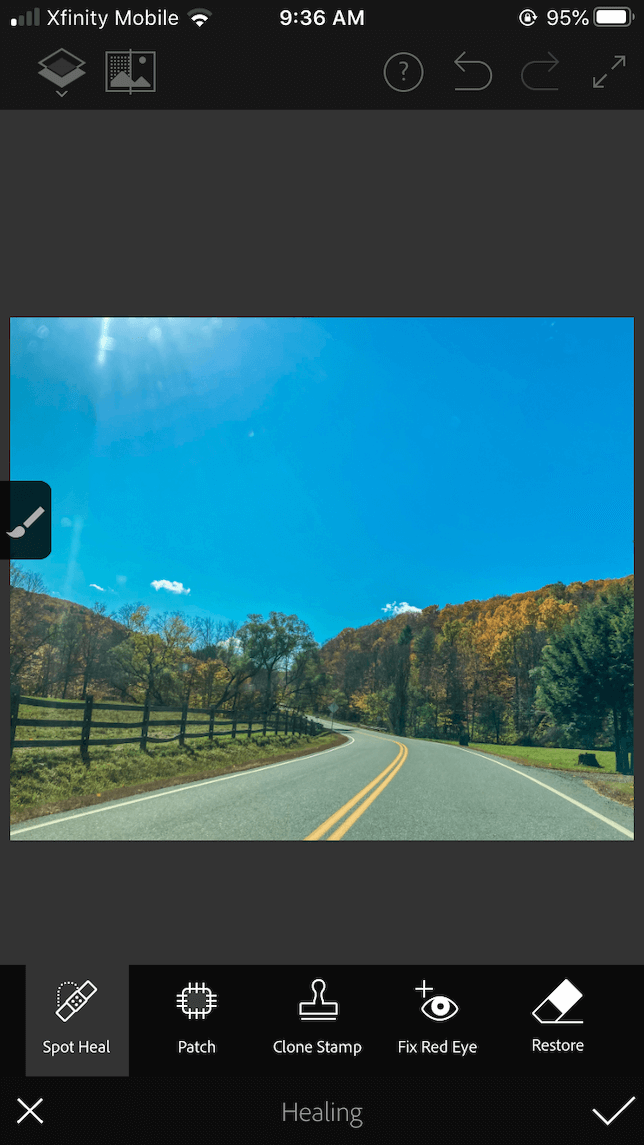
How to heal imperfections with Photoshop Fix
- Download Photoshop Fix and open it on your iPhone.
- Tap the plus sign at the top of the screen to import a photo.
- Tap Healing to open the workstation.
- A pop-up menu will appear where you can adjust the size of your brush and the “hardness” of the effect. The last icon will allow you to see the areas you’ve already touched up by toggling it on or off.
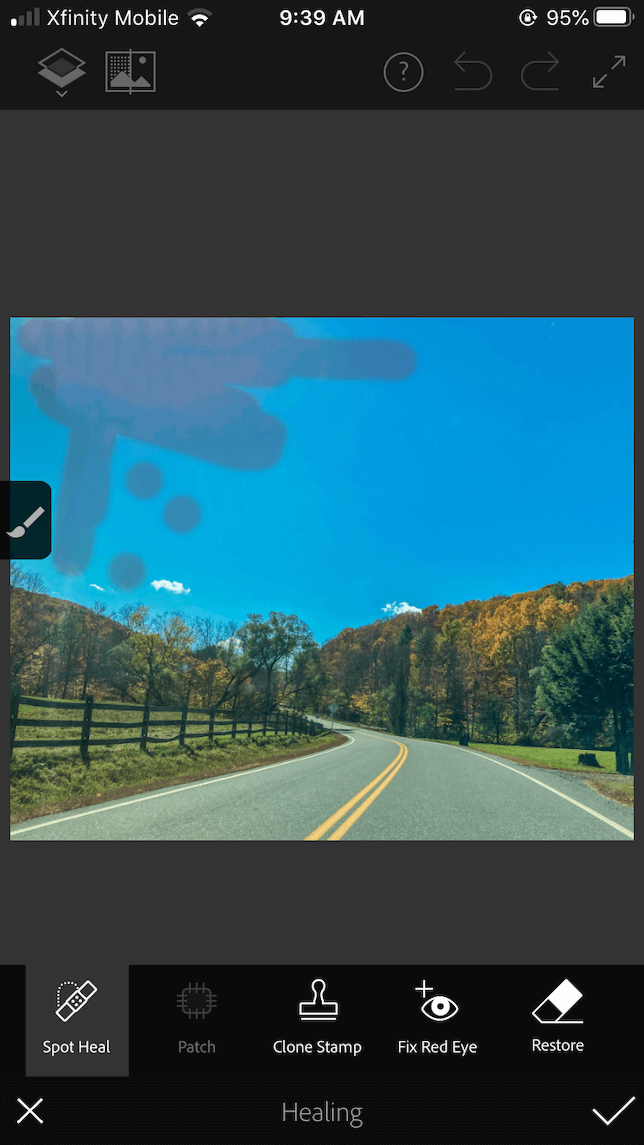
- Once you’ve chosen your brush size and hardness, zoom in on the area you want to work on by swiping out with your thumb and forefinger across the screen.
- Use your finger to paint over the imperfection.
- You can tap the back arrow at the top of the screen to go back to the previous edit.
- When you are happy with the results, tap the upload icon to save your photo to your library.
6. Photoshop Express: Great fine-tuning app for photos
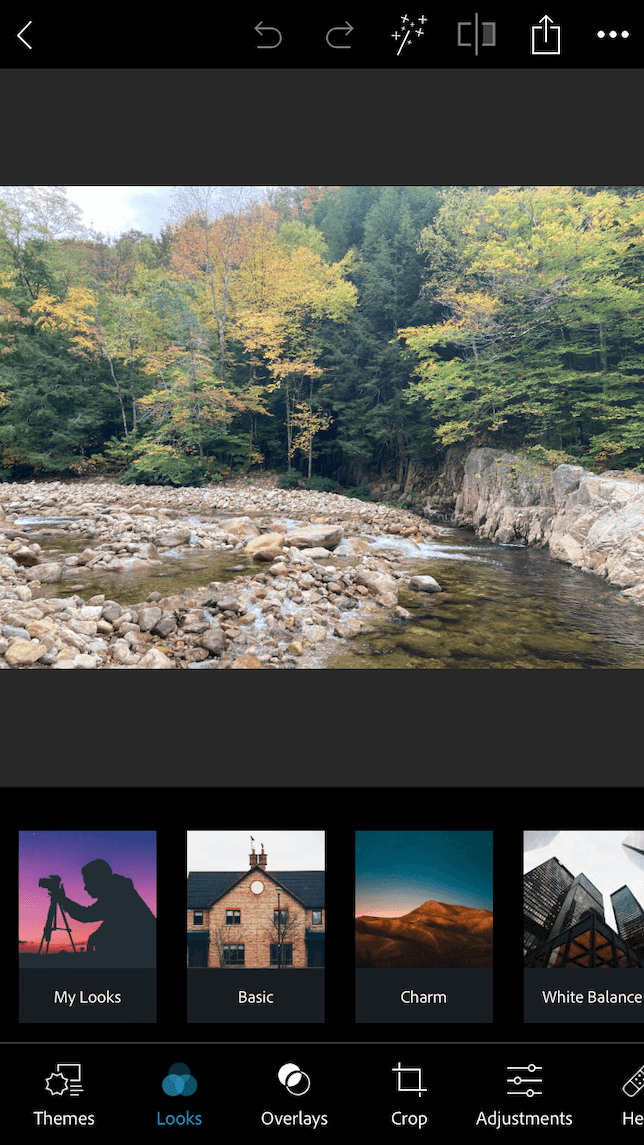
If you’re doing basic retouches on your photos — such as changing exposure, highlights, and saturation — or you need to sharpen details, your best bet is to use Photoshop Express. This is an all-in-one photo editor that is easy to learn and to master. Photoshop Express is free to download and use, but there are some premium features that require a monthly subscription fee of $4.99 per month.
How to use Photoshop Express to retouch your photo
- Download Photoshop Express and open it on your iPhone.
- Give the app permission to access your photos and choose the one you want to retouch.
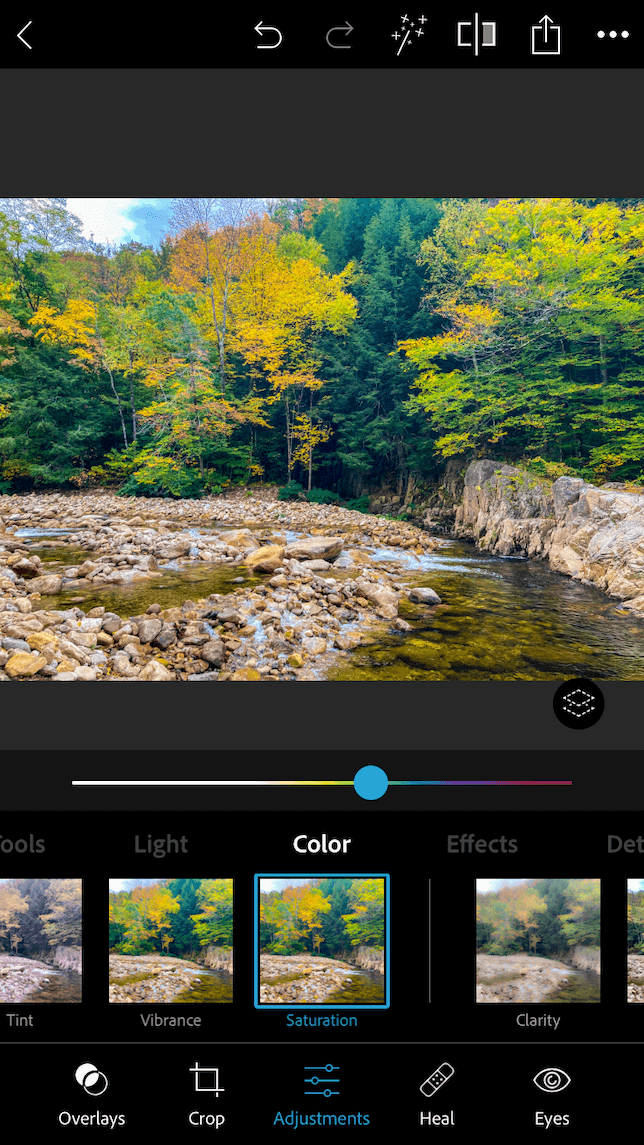
- Tap Adjustments from the menu at the bottom of the screen.
- From here, you can choose from another menu that lets you fine-tune light, color, effects, and details.
- Choose a menu item and use the slider to add more or less intensity to your photo.
- When you’re finished retouching your photo, tap the share icon at the top of the screen and choose Camera Roll to save your photo.
Retouching your photos is an extra step, but it is arguably a necessary one for making the leap from good to amazing. Whether you want to remove a watermark from your photo because you don’t like it anymore or to erase an unsightly power line, these apps help you get there without much effort or expense. Worth it? Absolutely.